

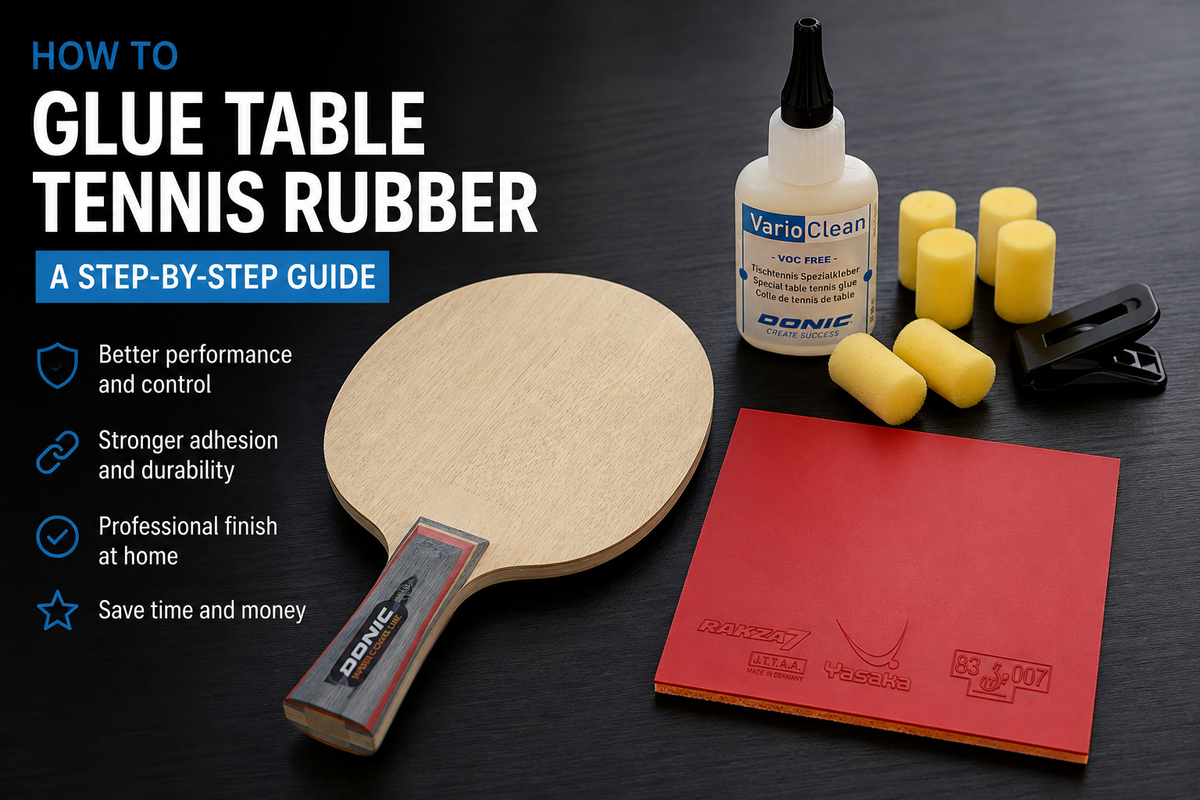
Gluing table tennis rubber may look difficult, but with the right materials and a little patience, it is a job you can easily do yourself. Correct gluing ensures an even playing surface, reliable adhesion and the best possible performance from your blade and rubbers.
In this guide, the specialists at TableTennisStore.eu explain exactly how to glue a table tennis rubber and avoid the most common mistakes.
What do you need?
Before you begin, make sure you have the following materials:
- Your table tennis blade
- Two table tennis rubbers
- Water-based table tennis glue
- A glue applicator or sponge
- A rubber roller or pressing tool
- Sharp rubber scissors or a table tennis rubber-cutting knife
- A clean, flat working surface
- Optional: blade lacquer or blade sealer
- Optional: edge tape
Always use glue specifically designed for table tennis rubbers. Modern water-based table tennis glue is safe for your equipment and does not contain the harmful volatile solvents found in traditional speed glue.
Before you start
When gluing table tennis rubber, always work on a clean, dry and flat surface. Make sure the blade and the sponge side of the rubber are free from dust, dirt and old glue residue.
Take your time. Most gluing problems are caused by using too much glue, attaching the rubber before the glue is fully dry or applying uneven pressure.
If you are using a brand-new blade, you may want to seal it first.
Should you seal your blade?
Blade sealing means applying a very thin protective lacquer layer to the blade’s surface. This can help prevent wood fibres from being pulled away when you remove the rubber later.
Sealing is particularly useful for:
- Blades with a soft or delicate outer veneer
- Players who regularly change their rubbers
- Expensive blades that require extra protection
- Rubbers that are known to attach strongly to the blade
Only use a product made specifically for sealing table tennis blades. Apply a very thin and even layer. Too much lacquer can change the feel of the blade and reduce adhesion.
Allow the lacquer to dry completely before gluing the rubbers.
Step 1: Identify the correct side of the rubber
A table tennis or ping pong rubber consists of two parts:
- The rubber topsheet, which contacts the ball
- The sponge, which is glued to the blade
Glue must always be applied to the sponge side.
Before applying glue, check which rubber you want to use on your forehand and which one belongs on your backhand. Also decide which colour you want on each side.
Step 2: Apply glue to the rubber
Place the rubber on your work surface with the sponge facing upwards.
Apply a small amount of water-based glue to the centre of the sponge. Use the applicator to spread it across the entire surface in a thin and even layer.
Work from the centre towards the edges and make sure no areas are left uncovered. Pay particular attention to the edges, as insufficient glue here can cause the rubber to come loose later.
The layer should be smooth, without thick spots or pools of glue.
Specialist tip
Some rubbers have a very porous or absorbent sponge. The first layer of glue may soak into the sponge almost immediately. In that case, allow it to dry and apply a second thin layer.
Two thin layers are better than one excessively thick layer.
Step 3: Apply glue to the blade
Apply a small amount of glue to one side of the blade and spread it evenly across the entire playing surface.
Make sure the glue reaches the edges, but prevent it from running onto the handle or sides of the blade.
Normally, one thin layer on the blade is sufficient.
Step 4: Let the glue dry completely
This is one of the most important steps when gluing table tennis rubbers.
Water-based glue is usually white when first applied. Wait until the glue on both the blade and rubber has become completely transparent.
Depending on the glue, temperature and thickness of the layer, this normally takes approximately 10 to 20 minutes. It can take longer in a cold or humid room.
Do not attach the rubber while the glue is still white or wet. This can lead to:
- Poor adhesion
- Air bubbles
- Uneven contact
- Damage when removing the rubber
- Longer drying times underneath the rubber
Let the glue dry naturally. If necessary, you can use a hairdryer on a cool or very low heat setting from a safe distance. Avoid excessive heat, as this may damage or deform the rubber.
Step 5: Position the rubber
Once both glue layers are completely transparent, place the blade flat on your work surface.
Hold the rubber above the blade with the sponge facing downwards. Carefully align the bottom of the rubber with the top of the handle.
The rubber’s brand name or logo should be clearly visible and positioned close to the handle.
Allow the lower edge of the rubber to make contact first. Take your time, because water-based glue can grip immediately.
Step 6: Roll the rubber onto the blade
When gluing table tennis rubber, slowly lower the rubber onto the blade while using a rubber roller to press it down from the handle towards the top of the blade.
Use smooth and even pressure. The purpose is to create full contact and push out any trapped air.
Do not stretch the rubber while rolling it onto the blade. Stretching can change its playing characteristics and may cause it to shrink back later, leaving part of the blade uncovered.
Once the rubber is attached, roll over the entire surface several times using firm but controlled pressure.
Step 7: Cut the rubber
Place the racket on a cutting mat or another surface that cannot be damaged.
Using the edge of the blade as your guide, carefully cut the excess rubber away.
You can use either:
- Sharp rubber scissors
- A specialist rubber-cutting knife
Cutting with scissors
Scissors are the easiest and safest option for most players. Keep the blade upright and make small, controlled cuts around the racket.
Do not try to cut the entire rubber in one movement.
Cutting with a knife
A sharp knife can produce a very clean result, but it requires more control. Keep the blade firmly in place and cut carefully around its edge.
Always cut away from your body and protect the surface underneath.
Minor imperfections around the edge will not affect the rubber’s performance. A clean result comes mainly from using sharp tools and working patiently.
Step 8: Repeat on the other side
Turn the blade over and repeat the entire process for the second rubber.
Be careful when applying pressure to the second side. Place the already-glued rubber on a clean, soft surface to prevent scratches or damage.
Step 9: Apply edge tape
Once both rubbers have been attached and cut, you can apply edge tape around the racket.
Edge tape helps protect:
- The edge of the blade
- The sides of the rubbers
- The racket against light contact with the table
Choose edge tape in the correct width for the combined thickness of your blade and rubbers. Apply it under light tension, but do not pull it too tightly.
How long should you wait before playing?
In most cases, you can play with the racket shortly after both rubbers have been attached. However, we recommend allowing the racket to rest for several hours before intensive use.
This gives the adhesive bond time to settle and allows any remaining moisture to evaporate.
For the best result, glue your rubbers the evening before you intend to use the racket.
Common gluing mistakes
Using too much glue
A thick layer takes longer to dry and can create an uneven surface. Apply one or more thin, even layers instead.
Attaching the rubber too early
Both glue surfaces must be completely transparent before they are joined.
Stretching the rubber
Do not pull or stretch the rubber during application. It may shrink afterwards and expose part of the blade.
Applying uneven pressure
Use a roller and work from the handle towards the top of the blade. This helps prevent air bubbles.
Forgetting the edges
Make sure glue is applied all the way to the edges of both the blade and sponge. Otherwise, the rubber may start to lift.
Using unsuitable glue
Never use contact adhesive, wood glue, spray adhesive or general-purpose household glue. These products can damage the rubber and blade and make later removal extremely difficult.
Only use water-based glue designed for table tennis equipment.
What should you do if there is an air bubble?
If you notice a bubble immediately, carefully lift the rubber back towards the bubble and roll it down again.
If the glue has already bonded firmly, it is usually better to remove the entire rubber and start again. Trying to puncture or cut the bubble can permanently damage the topsheet or sponge.
How do you remove an old rubber?
Start at one side near the handle and slowly peel the rubber away from the blade.
Pull gradually across the blade rather than straight upwards. This reduces the risk of damaging the wood fibres.
Never tear the rubber off quickly.
Be especially careful with:
- Unsealed blades
- Soft outer veneers
- Very strongly bonded rubbers
- Thin or fragile sponges
After removal, old glue residue can often be gently rubbed or peeled from the sponge. Do not use aggressive solvents or sharp objects.
If you intend to reuse the rubber, store it flat and protect the sponge from dust.
Can you reuse a table tennis rubber?
Yes, provided the topsheet, sponge and glue surface are still in good condition.
A previously used rubber can be attached to another blade, but remember that every blade has a slightly different shape. A rubber cut for one blade may not fully cover another blade.
Remove as much old glue as possible without damaging the sponge before applying a fresh layer.
How often should you replace your rubbers?
This depends on how frequently you play, your playing level and the type of rubber you use.
Signs that a rubber may need replacing include:
- Reduced grip
- Less spin than before
- A smooth or shiny playing surface
- Visible cracks or damaged edges
- Reduced speed or responsiveness
- An inconsistent feeling during play
Competitive players may replace their rubbers several times per season, while recreational players can often use the same rubbers much longer.
Let us glue your racket professionally
Would you prefer not to glue and cut the rubbers yourself? When ordering a blade and rubbers from TableTennisStore.eu, you can choose our professional racket assembly service.
Our table tennis specialists will:
- Check the selected blade and rubbers
- Apply the correct amount of water-based glue
- Attach both rubbers evenly
- Cut the rubbers neatly around the blade
- Finish the racket ready for play
This gives you a professionally assembled racket without the risk of bubbles, loose edges or uneven cutting. Gluing table tennis rubber correctly takes some practice, especially when cutting the rubber neatly around the blade.
Need advice?
Not sure which glue, blade, rubber or edge tape you need? The TableTennisStore.eu team is happy to help.
We do not simply sell table tennis equipment. We play the sport, test the products and understand how different materials work together. Contact us for personal advice or visit our showroom to discuss your ideal setup.
Precision starts with the right equipment and the right preparation. We hope you know now how to glue a table tennis rubber. Feel free to contact us if you have any questions.

